
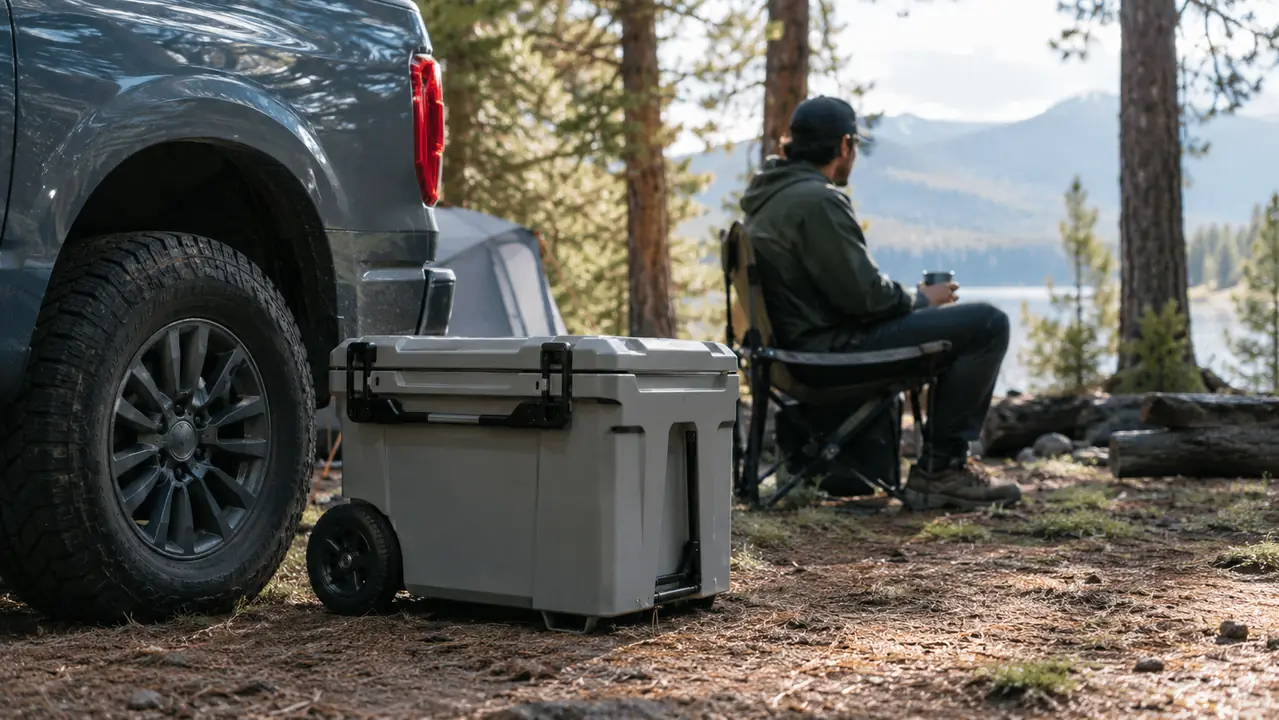
I learned the hard way that a cooler is only as good as how you pack it. My wife Denise and I take the Tacoma up into the Tahoe National Forest three or four times a summer, usually for three or four nights. For years I just tossed in a bag of ice and hoped. By Saturday morning the ice was floating in six inches of water and the chicken was warm. Then I bought a Coleman Classic Series rolling cooler, the one with wheels and the leak resistant lid, and I had to learn how to feed it properly. The cooler itself holds ice for days if you do your part. This guide is the routine I settled on after about a dozen trips, and it works whether we are heading to Rollins Lake or the Yuba River. It took me a few tries to get it right.
Most people blame the cooler when the ice melts. In my experience the cooler is rarely the problem. The problem is warm food going in, a warm cooler to start, and a lid that gets opened every twenty minutes. Fix those three things and a decent cooler will surprise you. This is the order I do things in now, and it turns a two day trip into a four day trip without buying anything fancy. I have tried cheap coolers and expensive ones, and the routine matters more than the brand. But a cooler with a good seal and a drain plug makes the routine easier. The Coleman has both, and that is why it is the one I reach for. If you are leaving Friday afternoon and coming back Sunday night, you do not need dry ice or a generator. You need to pack smart and keep the lid shut.
Start with a cooler that can actually hold ice
The Coleman Classic Series rolling cooler is the base of this whole routine. It has thick walls, a lid that seals, and wheels so you can move it when it is full. Check it on Amazon and see if it fits your next trip.
Amazon Check it on Amazon →Step 1: Pre cool the cooler the night before
Cold air does not freeze food. A cooler full of room temperature plastic walls will steal heat from your ice for the first full day. I learned this when I loaded a warm cooler with a fresh bag of ice and found half of it gone by breakfast. The first time I used this Coleman, I skipped the pre cooling step. I loaded it the same way I had loaded my old cooler, and by the second morning the ice was mush. The next trip I pre cooled it for a full night, and the same bag of ice was still solid on the second evening. That is when I started paying attention to how I loaded it.
The night before a trip, I put the Coleman in the garage, open the drain plug, and drop in two frozen gallon jugs. I close the lid and leave it overnight. In the morning the interior is cold to the touch. The frozen jugs stay in the cooler and become part of the ice supply. If you are camping somewhere hot, do this in the shade, not in the sun. I use a cheap refrigerator thermometer inside the cooler to check the temperature. On the last trip, it read 38 degrees on the second morning. That is cold enough to keep food safe, and it means the ice is doing its job.
Pre cooling works with any cooler, but it works best with one that has thick walls. The Coleman walls hold the cold once they get cold. A thin walled cooler loses that cold quickly. One more thing: do not put the cooler in the bed of the Tacoma in the sun. The bed is a heat trap. I put the cooler on the passenger side of the bed, under the tonneau cover, or I tie it down in the shade of the cab. It sounds small, but it keeps the cooler ten degrees cooler.
Step 2: Use block ice or frozen jugs instead of cubes
Cubes melt fast because they have a lot of surface area for their size. A bag of party ice looks like a lot when you dump it in, but it is mostly air and thin surfaces. Block ice, or a frozen jug of water, melts much slower and keeps the cooler at a steadier temperature. A ten pound bag of cubes disappeared in a day and a half in my cooler. The same space filled with two frozen jugs lasted three days. That is the difference between running out of ice and having enough for the drive home. Block ice is hard to find in some towns, which is why I freeze my own.
I freeze three or four milk jugs filled with tap water. They are cheap, they are reusable, and they do not make a mess when they finally melt. I put one on the bottom of the Coleman, one on top of the food, and I use cubes only in the drink cooler. On a trip to Rollins Lake last August, the jugs were still half frozen on the third morning. I learned the jug trick from a guy at Rollins Lake who had been camping for a week. He had four jugs in his cooler and hardly any cubes. His ice was still solid on day five. That is what convinced me.
You can also freeze some of your food. I freeze a pack of chicken breasts and a few bottles of water. The frozen chicken acts like an ice pack for the first day, and by the second day it is thawed enough to cook. That gives you extra cold without taking up extra space. I tried dry ice once and it was too much for a weekend trip. It kept everything frozen, but it also froze the lettuce and made the drinks too cold to hold. Dry ice has its place, but for car camping, frozen jugs are simpler and safer.
Step 3: Pack food in layers, not piles
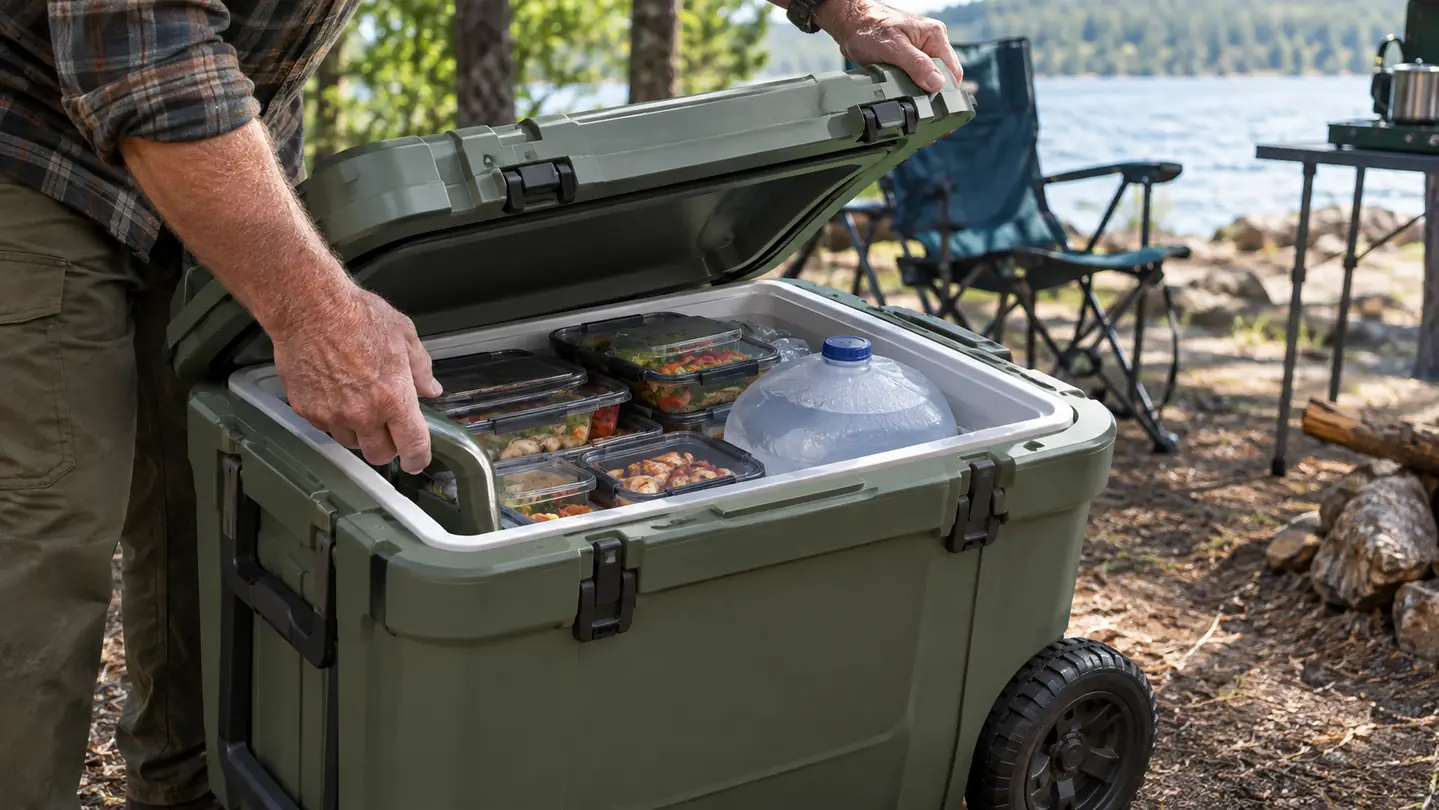
The way you arrange food matters as much as how cold the ice is. If you throw in a loaf of bread, a pack of hot dogs, and a bag of apples, you leave gaps. Those gaps fill with warm air, and every time you open the lid, that air gets replaced with more warm air. I pack everything in plastic bins or zipper bags. Raw meat goes on the bottom, in a leak proof container, so it cannot drip onto anything else. Vegetables and drinks go in the middle. Anything we will eat first goes on top. I use a sharpie to label the bins so I do not have to dig.
I fill the gaps with smaller items, like a jar of pickles or a bag of cheese, so there is almost no empty space. Then I put a frozen jug on top of the food before I close the lid. Cold air sinks, so the coldest part of the cooler is the bottom. The top is the warmest. Putting a frozen jug up there pushes cold air down through the food. I also put a layer of cardboard or a small cutting board on the bottom of the cooler. It keeps the food out of the meltwater and makes cleanup easier.
I keep drinks in a separate cooler. I use an old cooler for that, because drinks get opened constantly and they do not need to stay as cold as meat. The food cooler stays closed for hours at a time, and that is what makes the ice last. If you do not have a second cooler, put drinks on the bottom of the Coleman and food on top. Drinks can handle temperature swings better than raw meat. But the separate cooler is the better answer if you have room in the truck.
Step 4: Keep the lid closed and the cooler in the shade
This is the step people skip. A cooler in direct sun can lose a day of ice life, even with good insulation. I learned that when I left the Coleman on the sunny side of the truck for an afternoon and the butter turned to liquid. On a hot weekend at Rollins Lake, I tested this. One day I left the cooler in the sun for the afternoon, and the next day I kept it in the shade all day. The shaded cooler had noticeably more ice the next morning. It is not a small difference. The sun is the biggest reason ice disappears.
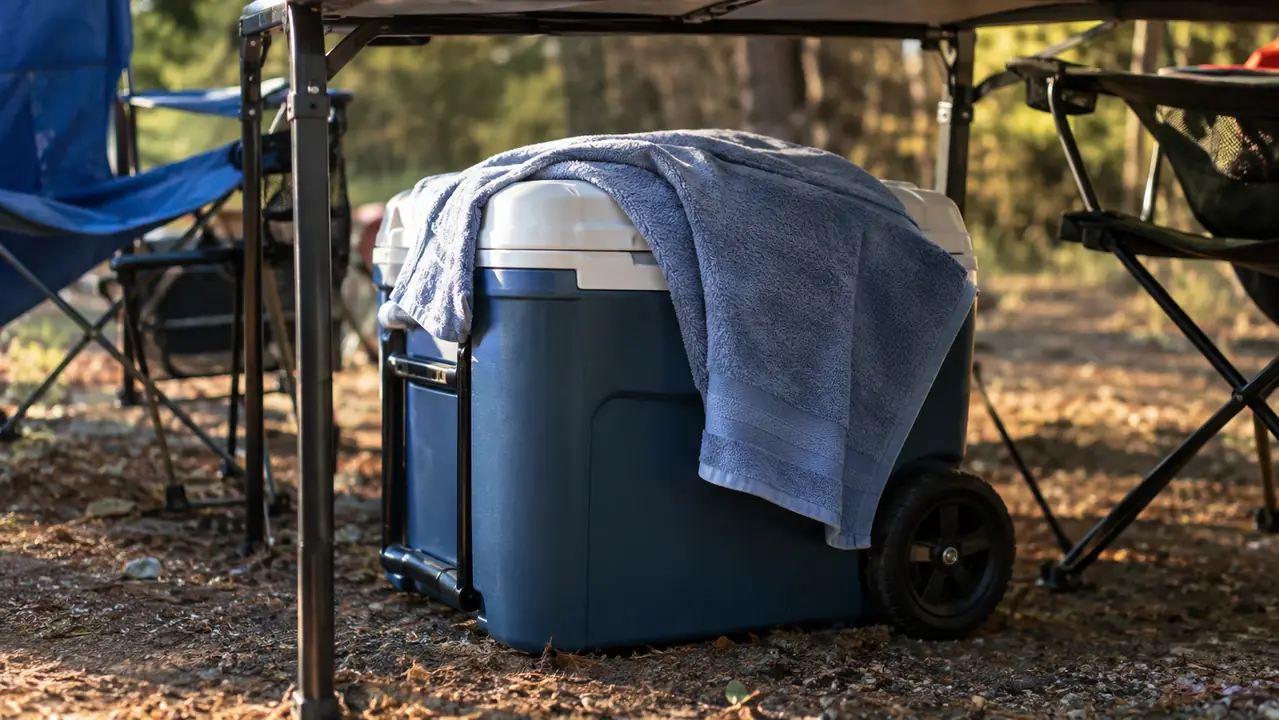
Now I park the Tacoma so the tailgate faces east in the morning and west in the afternoon. That keeps the cooler in shade for most of the day. I also keep a towel over the lid. It is not much, but it blocks the sun and adds a little insulation. If you are fishing on the Yuba River, the cooler sits in the boat. I put a wet towel over it and keep it in the shade of the motor. The wet towel cools as the water evaporates, and it makes a real difference on a warm afternoon.
The other half of this step is the lid. Every time you open the cooler, warm air rushes in and cold air spills out. I take out what I need for the meal, close the lid, and then do the cutting and prep. If you have kids or a group, assign one person to be the cooler keeper. That one job saves more ice than any cooler upgrade. I also open the cooler less often by packing a small bag with the things I need for lunch. That way I grab the bag and close the lid, instead of standing there looking for the mustard.
Step 5: Drain the meltwater every day
Water is the enemy of ice. Meltwater sits in the bottom of the cooler and conducts heat from the walls straight into the remaining ice. A cooler half full of water will lose ice much faster than a cooler that is dry inside. The Coleman has a drain plug on the side, and I use it every morning. I tip the cooler slightly, let the water run out, and close the plug. It takes about a minute. On our trip to the Yuba River in June, I drained about two gallons of water each morning, and the ice lasted the full four days. I time the drain for right after breakfast, before the day heats up.
Do not open the lid to drain it. The whole point is to get rid of the water without letting in warm air. If your cooler does not have a drain plug, you can use a turkey baster or a small siphon, but a plug makes it easy. I put a piece of tape on the drain plug so I remember to open it before I lift the cooler. If you drain it while the cooler is sitting flat, you will not get all the water out. Tilt it toward the plug and let it finish.
The meltwater is also useful. I use it to wash my hands or put out the campfire. It is clean water, and it saves me from carrying extra. The drain plug also helps when you get home. I open it and tip the cooler over the edge of the driveway so it dries out. A dry cooler does not smell, and it is ready for the next trip. It also keeps the cooler from getting heavy.
What Else Helps
Beyond the five steps, a few small habits add up. I keep a separate cheap cooler for drinks so the food cooler is not opened all day. I freeze water bottles and use them as ice packs, then drink them when they thaw. I put warm drinks in the cooler the night before, not the morning of. And I never put hot food in the cooler. Leftovers go in a container, sit on the counter until they are room temperature, then go in. That one habit alone saves a surprising amount of ice. I also keep the cooler out of the truck cab. The cab gets hot, and that heat soaks into the cooler. In the bed, under a cover, it stays closer to the outside temperature. On a three night trip, that alone can save half a day of ice.
One more habit: I fill empty space in the cooler with a rolled up towel or a few empty water bottles. It sounds odd, but a full cooler stays cold longer. The towel also helps if something leaks. And I check the seal on the lid before I leave. A cracked seal lets cold air out. I run a finger along the gasket and make sure it is clean.
The drain plug is the difference between a cooler that lasts two days and one that lasts four.
Try this routine on your next trip
You do not need a new cooler to make these steps work, but the Coleman Classic Series makes them easier with its drain plug, thick walls, and wheels. The wheels matter when the cooler is full. See it on Amazon and get your cooler ready before the weekend.
Amazon See it on Amazon →