
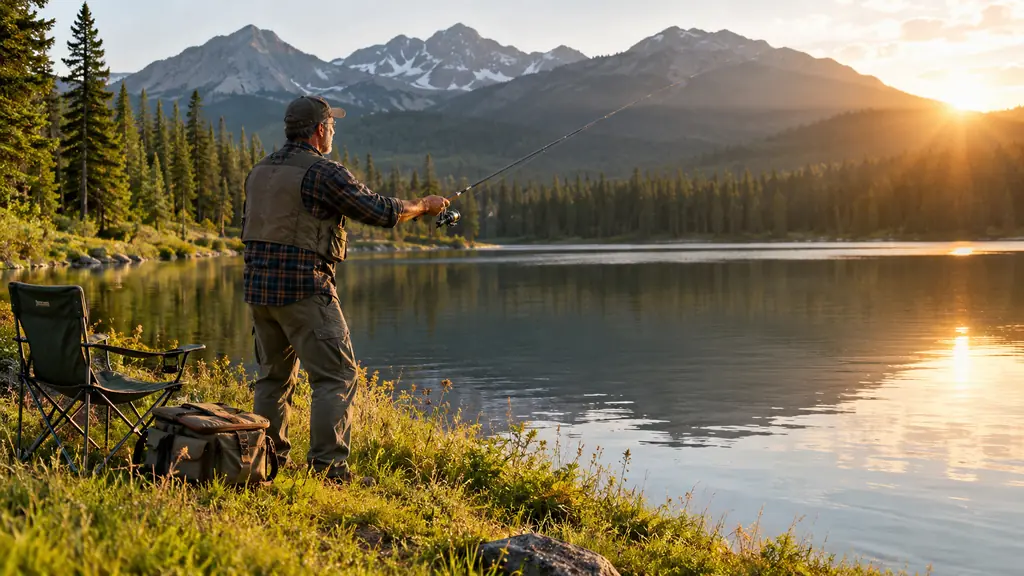
Friday afternoon I park the Tacoma at the gravel pull-off above Rollins Lake. I grab the rod, the tackle bag, and the folding chair. Denise is already down by the water, setting up the chairs and watching the surface. I walk down to the bank. Then I stand there and cast blind.
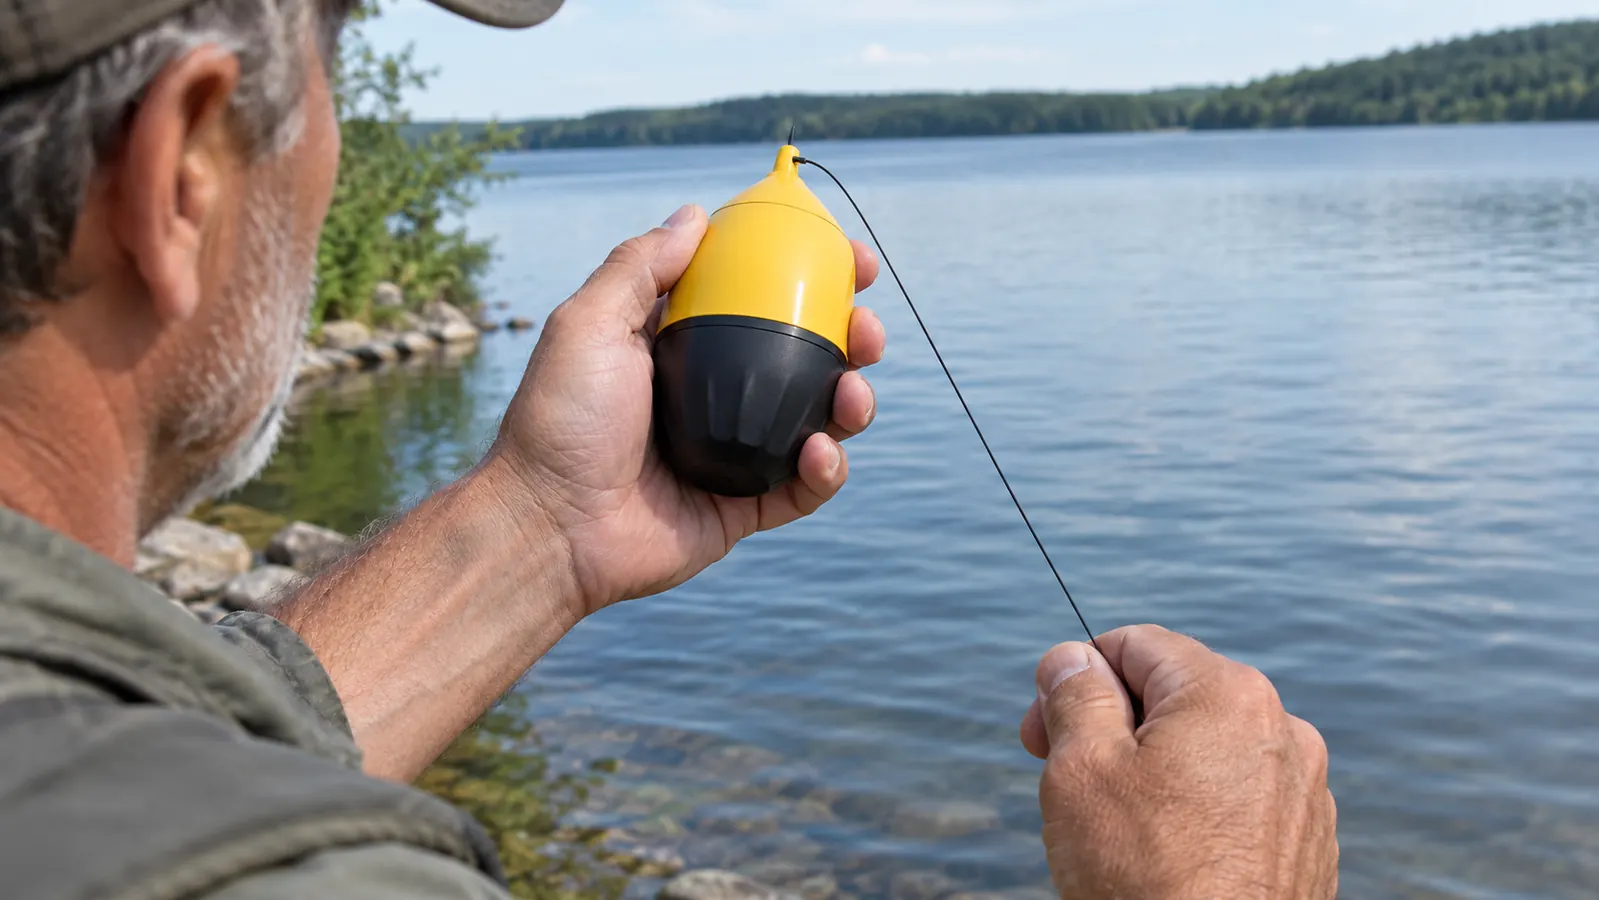
That used to be the whole plan. Pick a spot that looked fishy, throw out a bobber, and hope. Some days it worked. Most days I packed up a few hours later with nothing to show for it, and we drove home in silence listening to the radio. The lake is a big body of water and the fish move. Without knowing the depth, the bottom, or where the drop-offs sit, I was fishing one tiny patch of water out of hundreds of acres. That changed when I started carrying a castable portable fish finder. The LUCKY one. You cast it out like a small weight, reel it back slowly, and it tells you what is under the water. Depth. Bottom type. Whether fish are down there. It turned shore fishing from guessing into something closer to a plan.
Start With a Castable Finder You Can Take Anywhere
The LUCKY portable fish finder casts like a small weight and reads depth, bottom type, and fish on your phone. No boat required. It is the simplest way I have found to stop guessing from the bank.
Amazon See Today's Price on Amazon →The whole method comes down to five steps, and none of them are complicated. I have been using this finder for two seasons now, from the bank at Rollins and from the shore of the Yuba. Here is the order I do things in, and it has held up through summer heat and spring runoff.
Step 1: Learn to Read the Display
When you first turn one of these on, the screen can look busy. It shows depth on the side, a bottom line across the middle, and maybe some blips in between. Do not let it overwhelm you. Three things matter, and the rest is detail you will learn on your own after a trip or two. The manual is not much help, honestly. The screen makes more sense the first time you cast it than it does on the page.
The depth number is the one you will use most. It tells you how deep the water is right under the finder. That alone changes how you fish, because you can match your rig to what you find. If the depth reads six feet, you are not going to fish the bottom at twelve. If it reads thirty, you know to fish deep or move to a shallower flat. Most of my best days start with a single depth reading that tells me where to begin.
The bottom line tells you what you are sitting over. A hard, flat line usually means rock or gravel. A softer, thicker line means mud or weeds. Fish hold on different bottoms at different times of year, and knowing which one you are on tells you whether to keep moving or settle in. The fish arches are the last thing. Small marks between the surface and the bottom. When you see a cluster of them, you have found a holding spot, and you can mark it and come back to it all day.
Step 2: Find the Structure First
Fish do not hang in the middle of a flat, featureless basin. They relate to edges. A drop-off, a weed line, a sunken tree, a point that runs out into the lake. Those are the places where bait collects and where fish set up to feed. On the Yuba, the edge is often a gravel bar that drops off into a deeper channel. At Rollins, it is usually the old creek bed that still runs under the reservoir. Find the edge and you find the fish.
So instead of casting out into open water, cast the finder along the edge of what you think is structure. Let it sink to the bottom, reel it back slowly, and watch the depth number. When it jumps from eight feet to fourteen, you have found the edge. Mark that spot in your head, or drop a small buoy on it if you are in the boat. From the bank, line yourself up with a tree or a rock on the far shore so you can find the same line on your next cast.
That edge is your fishing spot. It does not matter if you cannot see it from the bank. The finder sees it for you, and once you know it is there, you can put your bait right on it. I have caught more fish on edges I found with the finder than on any spot I picked by eye, and that is not a small thing. It changed where I sit, and it changed what I bring home.
Step 3: Work the Finder Like a Lure
The LUCKY casts like a small weight. You can reach water you would never reach with a rod and a float. That is the whole point of a castable finder, and it is why I use it from the bank more than from the boat. From the 14-foot aluminum boat, I can move to find fish. From the bank, I need the finder to do the moving for me. It covers a lot more ground than I can wade, and it does it without spooking the fish.
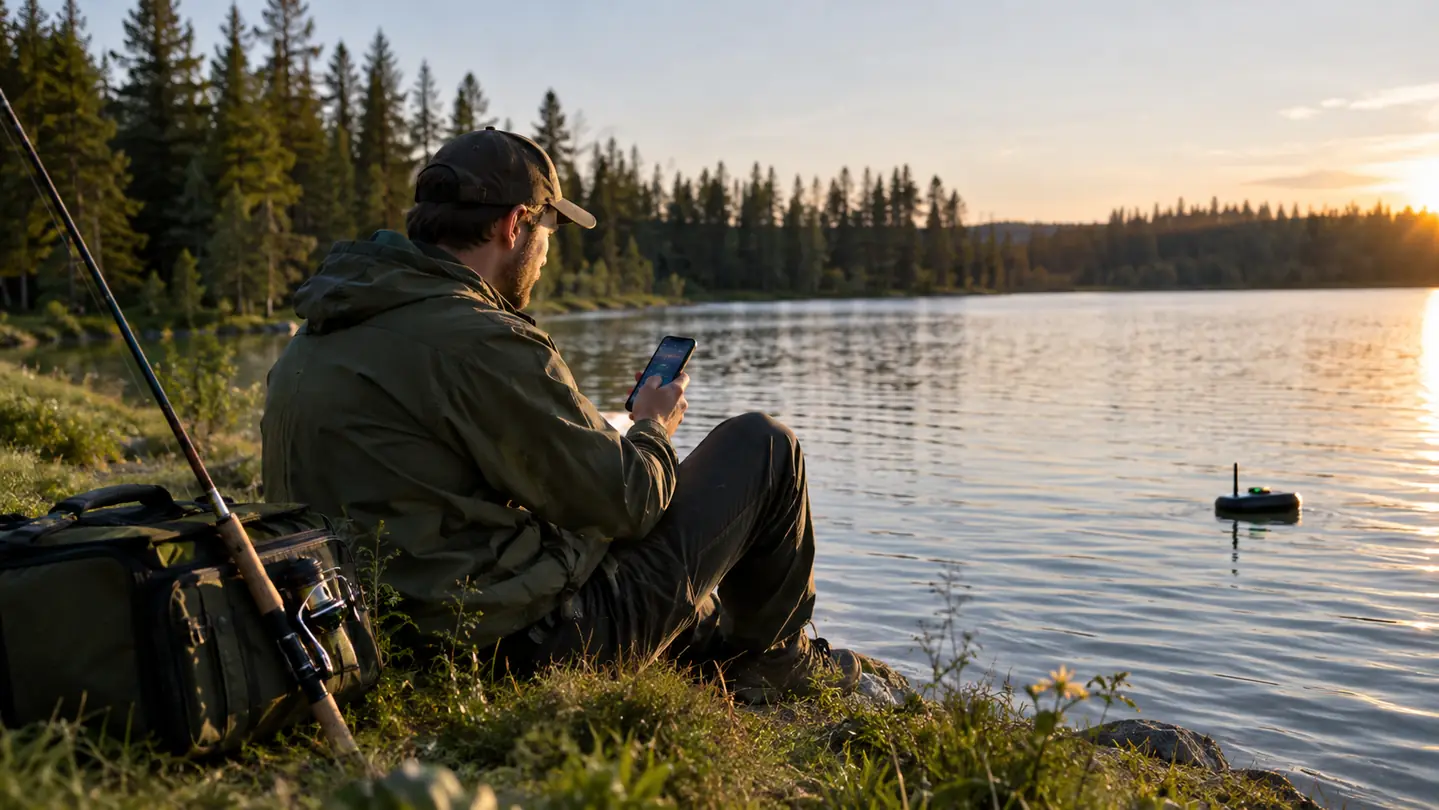
Cast it out as far as you can, let it sink, and reel it back slowly. Steady and slow. The finder sends its signal to your phone as it comes back, so you watch the screen the way you watch a rod tip. You are not trying to set a hook. You are reading a line of the lake. Give it a few seconds to settle on the bottom before you start the retrieve, or you will only read the surface layer.
You are covering water the way a lure covers water. Each cast is a sweep across a new piece of the lake. After ten casts you have a rough map of the bottom in front of you, without ever getting in a boat. I have covered more water from one bank in a morning than I used to cover in a weekend of wading, and I come home with a plan instead of a guess.
Step 4: Fish the Depth Band You Found
Once you know how deep the fish are holding, set your rig to fish that depth. That sounds obvious, but most shore anglers never know the depth they are fishing. They cast a bobber set at two feet and wonder why nothing bites. I did it for years. A bobber is a fine tool, but it only works if it is set for the depth the fish are using, and you cannot set it right if you do not know that depth.
If the finder shows fish at nine feet, set your bobber so your bait hangs at nine feet. If you are using a bottom rig, add enough weight to hold it there. Match the bait to the fish and the depth, and you are fishing on purpose instead of hoping. On a warm afternoon I will often find the trout holding at one depth in the morning and a different depth by late afternoon, and I adjust as I go.
The finder does not catch the fish for you. It just tells you where they are. You still have to put the bait in front of them, and you still have to present it well. But now you are doing it on purpose, and that is the difference between a good day and a frustrating one. It is also the difference between teaching yourself a spot and just hoping a spot works.
Step 5: Check the Water Temperature
The LUCKY reads water temperature too, and that reading tells you where to start on any given day. I check it first thing in the morning, before I rig a single rod. Denise waits in the truck with the coffee while I take the first cast, and by the time she walks down with the mugs I know what the day is going to be.
Trout and bass both have a comfort band. In the summer they push deeper or move to shade. In the spring they come up shallow. The temperature reading tells you which part of the lake they are likely in before you cast a bait. On a warm June morning when the water reads 68, I know the bass will be shallow and the trout will be looking for cooler water. That one number shapes the whole morning.
I use it as a morning check. Park, turn on the finder, take one cast, and I know the temperature and the depth. Then I pick my spot and my rig based on that one cast. It saves me an hour of wandering the bank, and it is the difference between fishing where the fish are and fishing where I happen to be. Some mornings it tells me to stay in the boat and cover water. Some mornings it says set up on the bank and be patient.
What Else Helps
The finder does the heavy lifting, but a few cheap additions make it work better. Polarized sunglasses cut the glare so you can see weed beds and drop-offs that are visible from the bank. That is free intel, and it works alongside the finder instead of against it. The two together give you a picture no single tool can.
Keep a simple notebook. Write down the date, the lake level, the water temperature, and what you caught. Patterns show up after a season of notes, and they are the kind of patterns no app will give you. I started one last spring and it is already showing me which spots produce in which month. It is the cheapest tool in my bag and it has saved me more blank days than anything else.
A map of the lake helps too, paper or on your phone. Knowing where the old creek channel runs gives you a starting point for the finder. You spend less time hunting and more time fishing. I keep a folded paper map in the door pocket of the Tacoma, the kind with the depth contours on it, and I check it before I ever pull the finder out of the bag.
One more thing. Take the finder out of the tackle bag and charge it the night before. A dead finder on the bank is just a plastic weight, and the best spot in the lake will not help you if you cannot see it. I have made that mistake once, and once was enough.
And give yourself a season with it. The first trip is about learning the screen. The second is about learning your lake. By the third, you are fishing with a plan, and that is when it gets fun.
One last habit. When you find a good depth and a good bottom, fish it for twenty minutes before you move. The finder gives you a place to start, but the fish still have to decide to bite. Patience is still part of the deal, and the finder just makes sure you are patient in the right place.
After ten casts I had a map of the bottom in front of me, and I stopped fishing blind for the first time in years.
Stop Guessing. See What's Under the Water.
The LUCKY portable fish finder fits in your tackle bag, casts like a weight, and reads depth, bottom, temperature, and fish on your phone. It is the closest thing to a boat advantage you can get from the bank, and it will work from the boat too when you have one.
Amazon Check Today's Price on Amazon →