
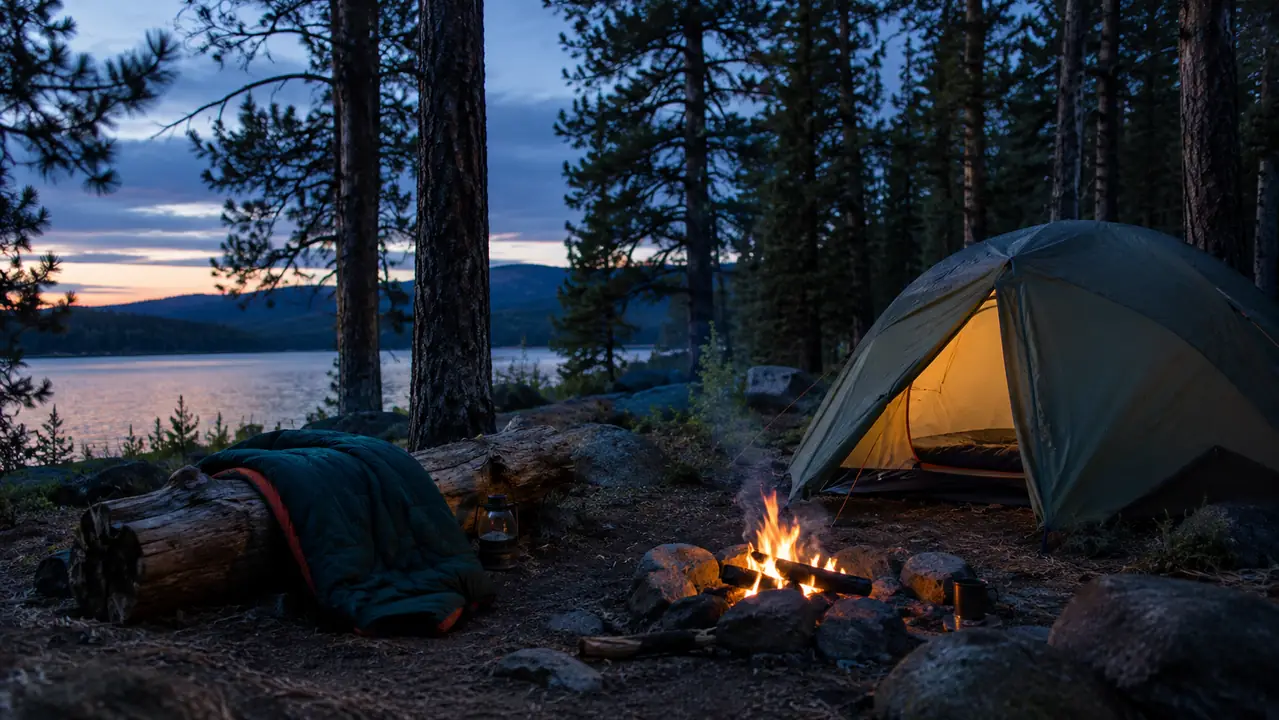
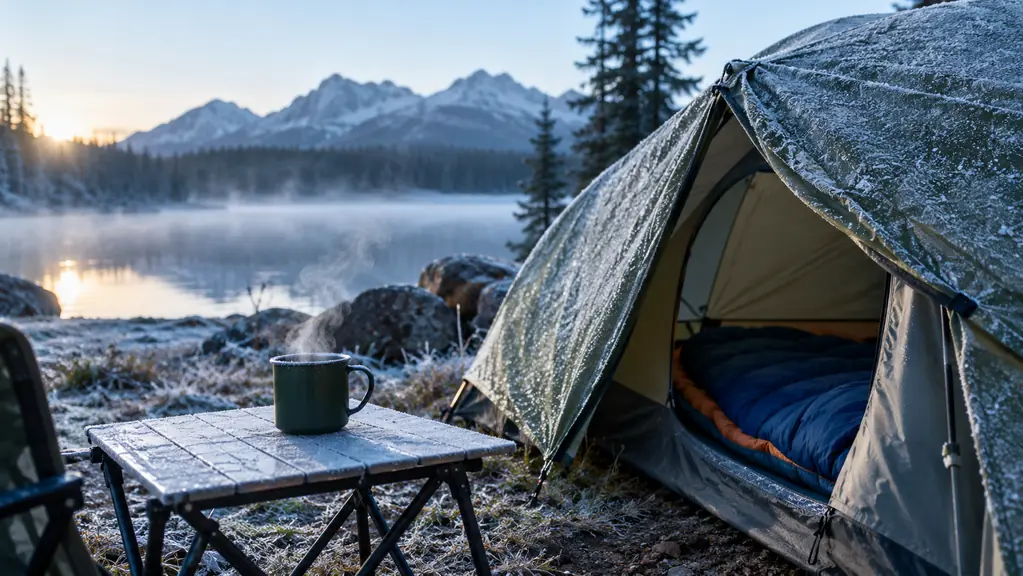
Last October I drove up to the Tahoe National Forest with the forecast calling for a low of 44. By 2 in the morning it was 31, and frost was forming on the tent fly. I was warm. Not just not-cold. Actually warm, sleeping in a 3 season sleeping bag that the box says is good for spring, summer, and fall.
That night did not happen by accident. It happened because I spent two seasons learning the hard way that a 3 season bag is only half the system. The other half is what you do before you get in it. The oaskys 3 season bag I carry now is a good one. It is light enough to pack, roomy enough to turn over in, and it has handled every trip I have thrown at it. But the first night I used it, I froze. Not the bag's fault. My fault. I did everything wrong.
Here is the thing about a 3 season bag. It is designed to keep you comfortable somewhere in the 40s and 50s. Below that, the bag still works, but it needs help. This guide is that help. Five steps, most of them free, all of them tested on cold nights in the Sierras over the last two seasons. By the end, you will know how to take a bag rated for 45 degrees down to 31 and sleep through the night. I have done it. You can too. Every one of these steps came from a night where I wished I had known it sooner.
A 3 Season Bag That Does Its Part
The oaskys 3 season bag handles spring through fall on its own. These tricks make it work down into the 30s. Check today's price on Amazon.
Amazon Check Today's Price on Amazon →Step 1: Put a Real Pad Under You
The biggest mistake I made my first season was trusting the bag to do all the work. It cannot. When you lie on a sleeping bag, your body weight flattens the insulation underneath you. All that loft, gone. What is left between your hip and the cold ground is about as thick as a bath towel. The heat does not come out through the top of the bag. It leaks out the bottom, straight into the dirt. I did not understand this until I spent a night in September with my hip bones aching against the ground.
My first pad was a half inch closed cell foam mat, the kind that rolls up and straps to the outside of a pack. On a 48 degree night in June it was fine. On a 40 degree night in September I woke up at 3 AM with my hips aching and my back cold. I tried stacking a second foam mat on top of the first. Better, but not right. Then I bought a self-inflating pad, an inch and a half thick, with an R value around 4. Same bag, same night, completely different sleep. The pad was the problem all along. I still carry that foam mat, but now it goes under the air pad instead of under me.
You do not need to spend a fortune. A good closed cell pad is fine down to about 45. Below that, add an air pad on top of it. The combination of a foam pad and an air pad has carried me into the low 30s. The rule I use now is simple. If the ground is cold, put more between me and it. The pad matters more than the bag. A cheap bag on a good pad will beat an expensive bag on a bad pad every single time.
Step 2: Change Into Dry Clothes Before You Get In
The clothes you wear around the fire all evening are damp. Even if you never broke a sweat, the night air puts moisture into a cotton shirt. Cotton holds that moisture against your skin, and at 3 in the morning it pulls heat off you faster than the bag can replace it. I learned this on a trip to Rollins Lake in May. I climbed into the bag in the same t-shirt I had worn all day. I woke up shivering with a damp shirt stuck to my back. The bag was fine. The shirt was the problem.
The fix is boring and it works. Change before you get in the bag. I keep a dedicated stuff sack with sleep clothes in it. A pair of long underwear, a dry t-shirt, wool socks that have never touched a boot, and a knit hat. On the coldest nights I add a light fleece. That is the whole kit. Nothing fancy. Everything dry. The whole thing takes up less room than a loaf of bread.
It takes five minutes and it feels silly the first time you do it. Then you sleep through a 35 degree night and you stop feeling silly. Denise made fun of me for the sock thing until she borrowed a pair one cold night. Now she packs her own sleep clothes. The point is not to bundle up like you are going outside. The point is to be dry. Dry skin stays warm. Damp skin does not, no matter how good the bag is. This one step has done more for my sleep than any gear upgrade I have made.
Step 3: Warm the Bag Before You Climb In
A cold bag is a heat thief. The first hour you spend in it, the bag is pulling warmth out of you instead of holding it in. That is an hour of shivering, and shivering is the body's way of telling you it is not happy. The fix is simple. Put heat into the bag before you get in. It takes five minutes and it changes the whole night.
My method is a wide mouth Nalgene bottle filled with hot water, wrapped in a wool sock, and dropped down at the foot of the bag. I fill it from the camp stove kettle while I am making the last cup of tea of the night. It heats the foot of the bag for the first hour, and it keeps my feet warm all night long. In the morning it is still lukewarm, and I use it for coffee. One bottle, two jobs. If you do not have a Nalgene, a metal water bottle works, just wrap it so it does not touch your skin.
The other thing that works is ten minutes of slow walking around camp before bed. Nothing strenuous. You do not want to sweat. Just enough to get the blood moving. Then get straight into the bag while you are still warm. On the night it hit 31 last October, I did both. Hot bottle at my feet, ten minute walk, and I was asleep before my head hit the pillow. The bag did its part. The warm start did the rest.
Step 4: Put an Extra Layer on Top of the Bag
Here is the trick most people never try. A sleeping bag works by trapping a layer of still air around you. You can make that layer thicker by putting something on top of the bag. A fleece blanket, a down throw, even a second bag opened up and used as a quilt. The extra layer does not need to be heavy. It just needs to stop the heat from leaving through the top. I tried this for the first time on a cool night in June and I have done it on every cold trip since.
I keep a packable down throw in the truck. It weighs about a pound and stuffs into a sack the size of a loaf of bread. On a normal night it stays in the truck. When the forecast drops below 40, I lay it over the top half of the bag, from my chest up. It has saved more cold nights than any other single item I own. On the 31 degree night, the throw was the difference between comfortable and miserable. It packs down small enough that I forget it is in the truck until I need it.
The same idea works from the inside. A sleeping bag liner adds ten to fifteen degrees and costs a fraction of a new bag. I use a fleece liner on the coldest trips. Inside the oaskys bag, it turns a comfortable 45 degree setup into a comfortable 38 degree setup. If you camp mostly in the shoulder seasons, a liner is the best money you will spend. It also keeps the bag clean, which means you wash the liner instead of the bag. The bag lasts longer and stays loftier.
Step 5: Eat, Empty Out, and Learn the Zipper
Your body is the furnace. It needs fuel to burn all night. A handful of nuts, a piece of cheese, or a bowl of warm stew before bed gives the furnace something to work with. A cold dinner of sandwiches and potato chips leaves the fire with nothing. I am not a nutritionist, but I know that the nights I eat something warm before bed are the nights I sleep through until daylight. On the trips where I skip it, I am awake at 2 AM, cold and hungry.
Then empty the tank. A full bladder pulls heat toward your core and makes you feel cold all over. Yes, it means getting out of a warm bag at 11 o'clock. Do it anyway. You will be warmer from midnight on. I also keep a dedicated wide mouth bottle in the tent for the 3 AM call. Denise draws the line at that one, so it is mine alone. It is the difference between a trip outside into the frost and a trip back to sleep.
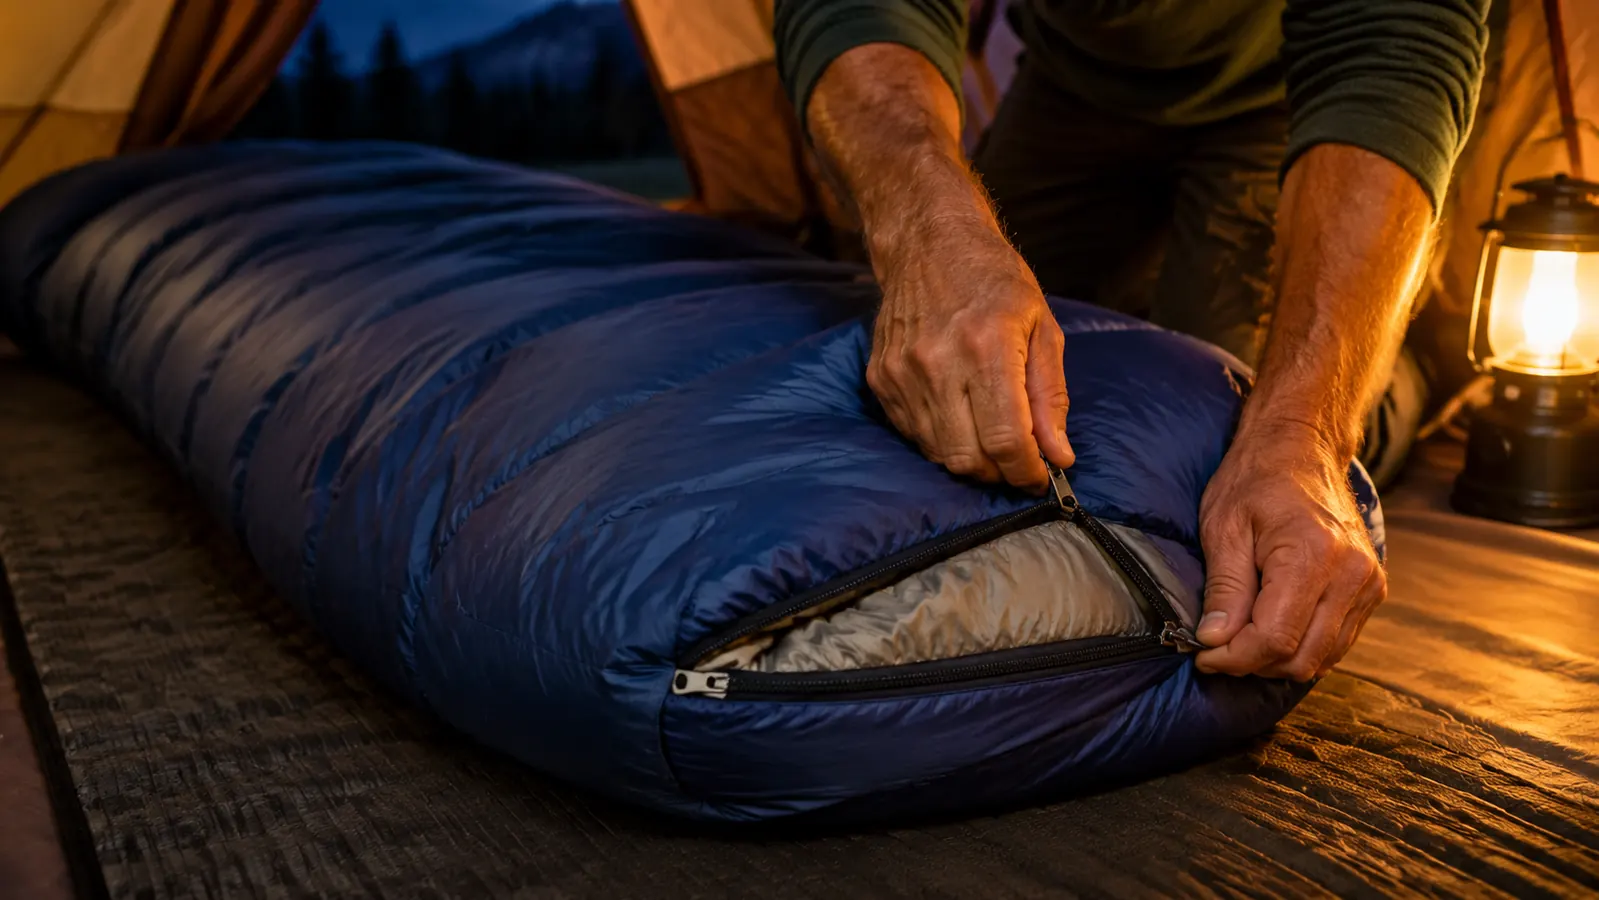
Finally, learn the zipper. The oaskys bag has a full length zipper and a drawstring at the top. On a cold night I zip it all the way up and cinch the top so only my nose is out. On a warmer night I leave a six inch gap for air. A 3 season bag is a tool with adjustments. Use them. And one more thing. I keep my boots inside the bag, at the foot, so they are not frozen boards in the morning. A friend who worked search and rescue taught me that, and I have never stopped doing it.
What Else Helps
None of these steps cost much, and a few more things cost nothing at all. Pitch the tent out of the wind. A steady breeze pulls more heat off a bag than a ten degree drop in temperature. Look for a spot with trees or a hill on the windward side. Put a tarp under the tent if the ground is damp. Dry ground is warmer ground, and a tarp keeps the tent floor from wicking moisture up into your pad.
Check the forecast before you go, and add five degrees of pessimism to whatever it says. The coldest night I ever spent in the Tahoe National Forest was forecast for 44 and hit 31. I had the oaskys bag, the self-inflating pad, the fleece liner, and the down throw, and I slept fine. The guy in the site next to me had a zero degree bag that cost three times as much, and he spent half the night in his truck because he was lying on a half inch foam mat. The gear only works when you use it right.
One more thing. Do not overdress inside the bag. If you wake up sweating, you are wet, and wet is cold. The goal is warm and dry. If you are too warm, loosen the cinch and let some air in. It is easier to warm back up than it is to dry out.
The coldest night I ever spent in the Tahoe National Forest was forecast for 44 and hit 31. I had the oaskys bag, the pad, the liner, and the down throw, and I slept fine.
Make a 3 Season Bag Work Down to 31
The oaskys 3 season bag is the base of this whole system. Add a good pad, dry clothes, and one extra layer, and you are warm well below its rating. Check today's price on Amazon.
Amazon Check Today's Price on Amazon →